-Press the letter L: this will give you the ability sketch a line.
-Sketch a line by left clicking and dragging your mouse from left to right from the white circle on the plane that you have created.
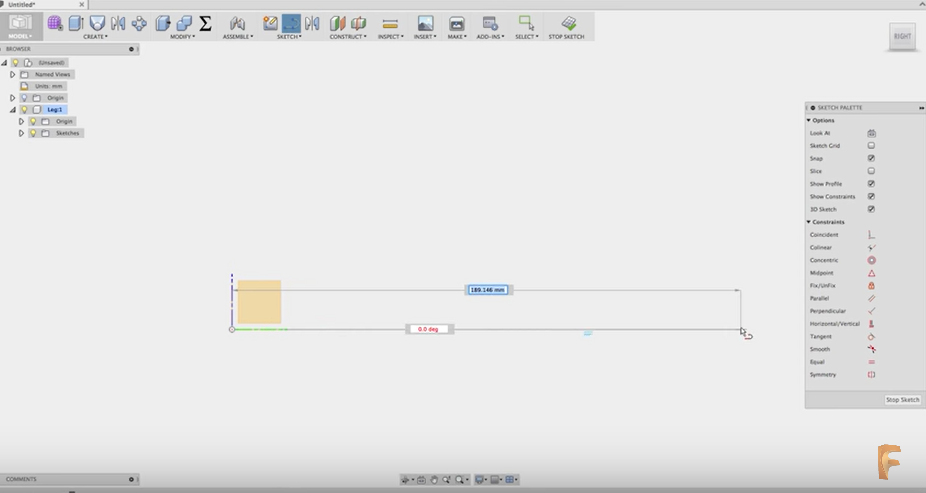
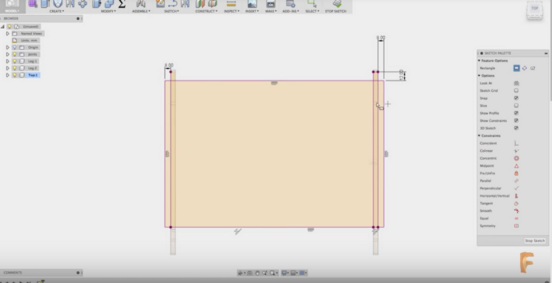
Now that you can create lines, try to rough sketch the laptop stand (it does not have to be a perfect sketch, it can be fixed later)
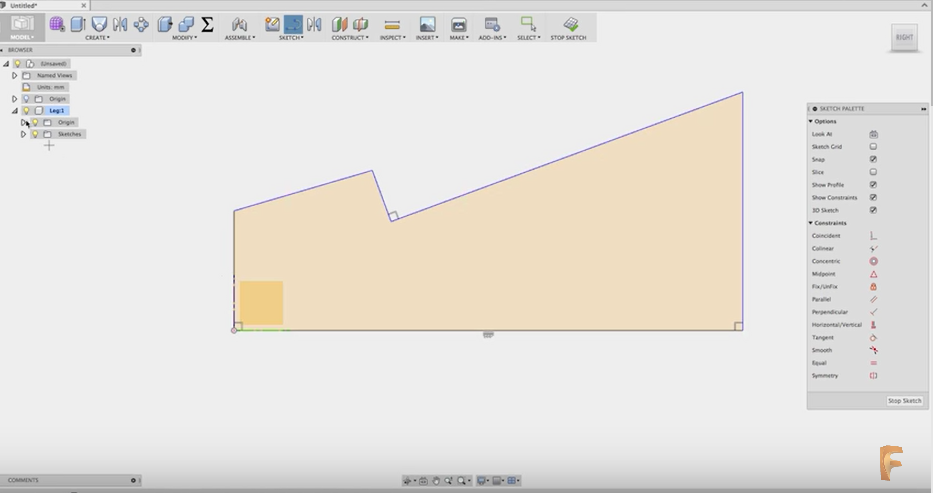
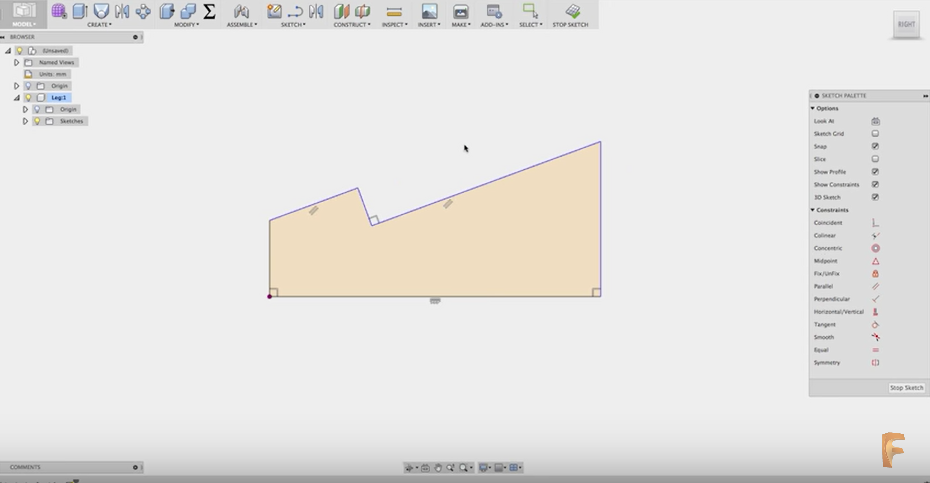
There is a window titled “Sketch Palette”, click on “colinear” and click the top two lines near the mouse hover on the screen. This will make sure the two lines “follow each other”
-press the letter “D”, this will help you dimension aka the size of each side of the laptop.
-Click the bottom line of the plane and draw the dimension
-The bottom line aka the distance= 225| the height = 125| the left height = 55.
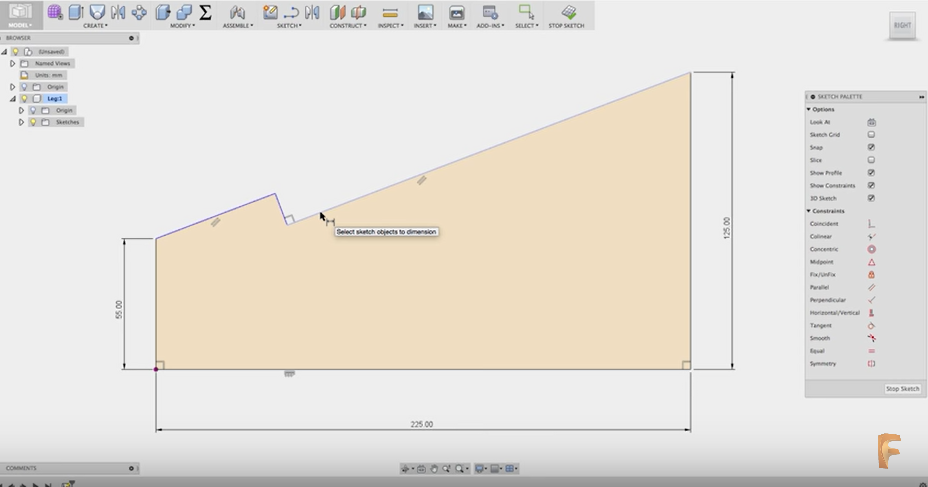
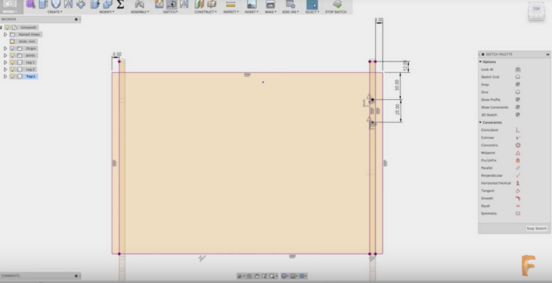
-Create an angle between the top and bottom of the sketch.
-Press the letter “D” and click the top and bottom, make the degrees 22. Now, dimension the left part of the sketch. Like this,
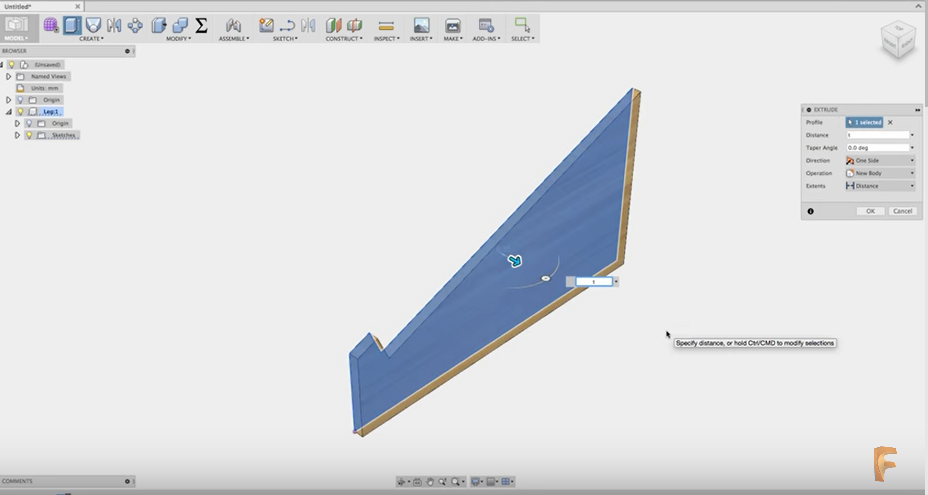
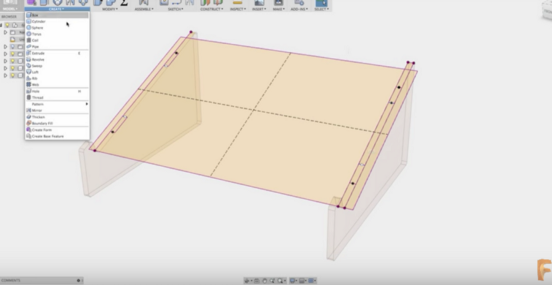
Go to create and look for extrusion, or simply press “E” on your keyboard. This will trigger the extrusion tool.
-click on the leg you have sketched
-and input the letter: T
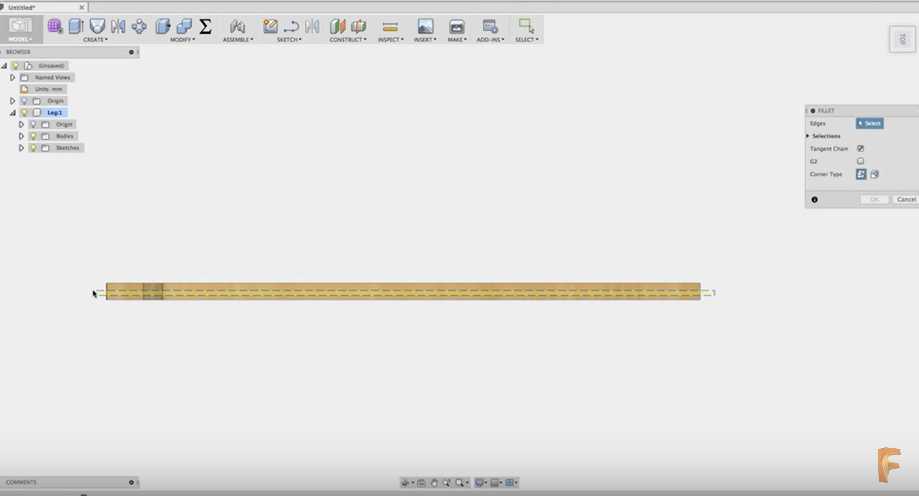
press the letter “F”, this will trigger the fillet tool
-Now click “top” on the top right of your screen, this will give you a top view of the whole sketch.
-Click on the select tool.
-Highlight what you want to fillet.
-Press ok.
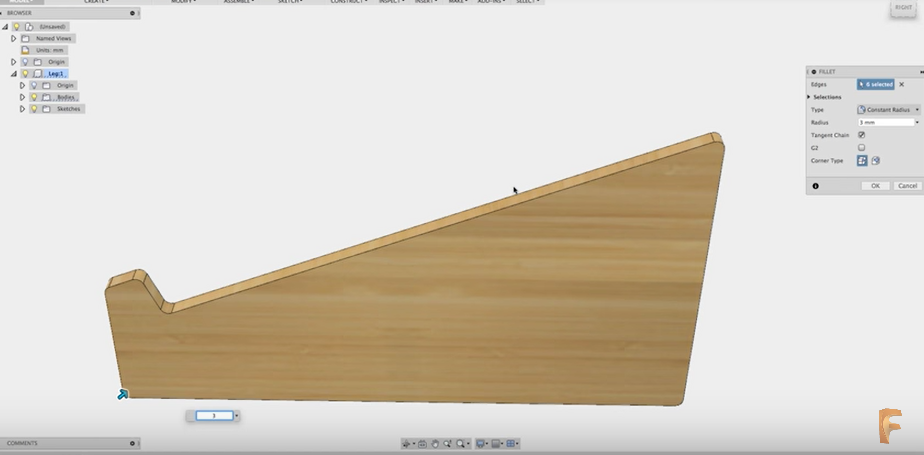
-Now, repeat the process for the bottom of the leg.
-You must fillet and input the number 3
-right click the “Leg” in the design section
-This will trigger an additional user interface near your cursor
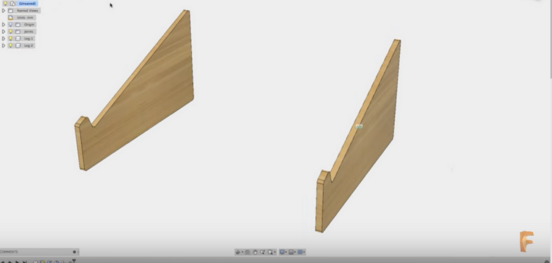
-The leg will be copied in place, it will resemble two legs sandwiched together.
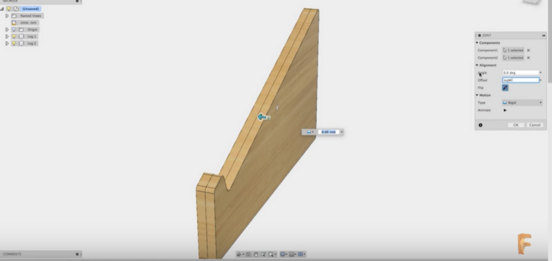
-click on the leg on the right
-and go to modify > Joint
-Choose both sides of the legs (L and R)
-The offset should be set to “legW”
-Press Ok.
-The legs are not separated
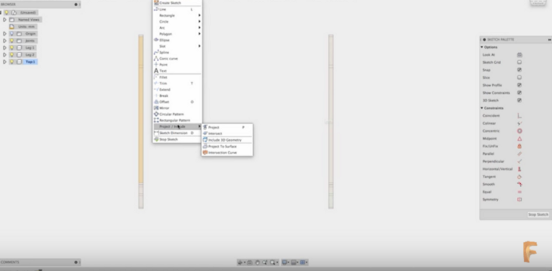
-Go to sketch and click on Project or simply press P (choose the left side top of the table)
-Now, create a rectangle by pressing R. Draw the top from left to right (it does not have to be perfect)
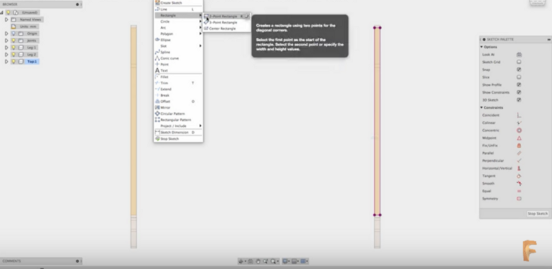
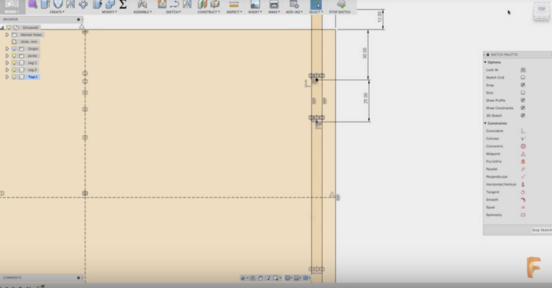
-Press D (to trigger the dimension tool)
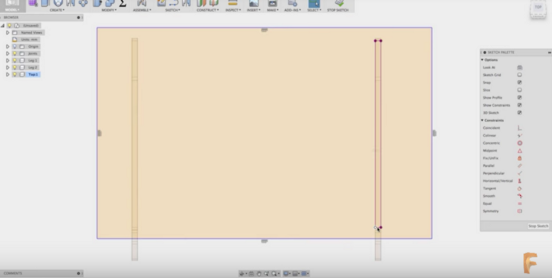
-Click each of the areas highlighted in the picture below and dimension them out by left clicking out/away from the area.
-Input each numeral in the corresponding areas.
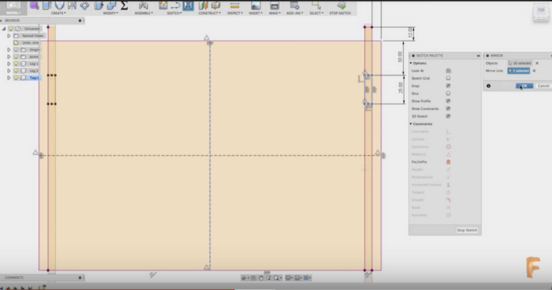
-Press L (triggers the Line function)
-Create a horizontal and vertical line, sort of like a cross.
-Also press M for the mirror function and mirror the inside of the right top (the two lines near the colinear area)
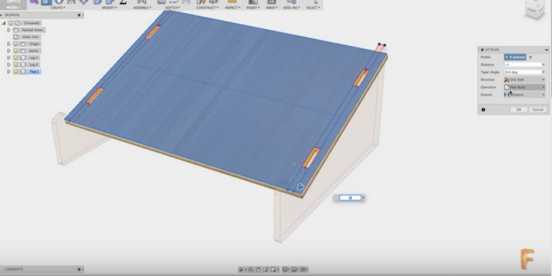
-Press E to trigger the extrude function
-Click on each of the top holes, choose -3 for the extrusion. Now Ok
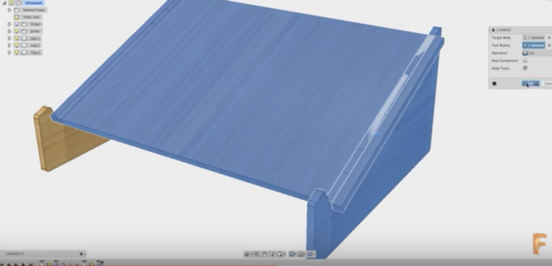
-Now go to Combine, press C. in operation choose CUT
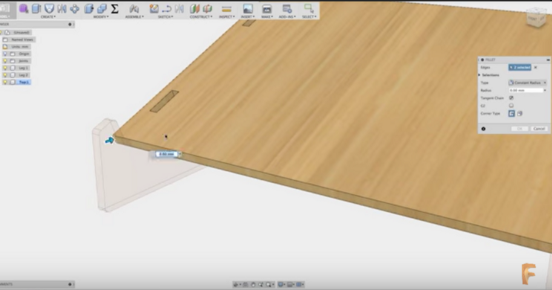
-Choose the fillet function
-Click on each of the top and bottom edges of the top, like in the photos below.
-There should be 4 total.
-Choose 3.00
-press Ok

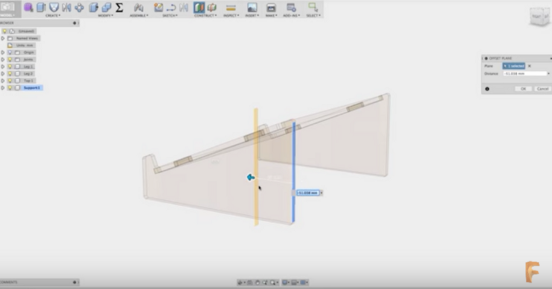
-Create a plane by clicking on construct > create plane
-Click on the back left leg and enter -45
-Press ok.
-Now drag out the plane, no need to be perfect (left to right)
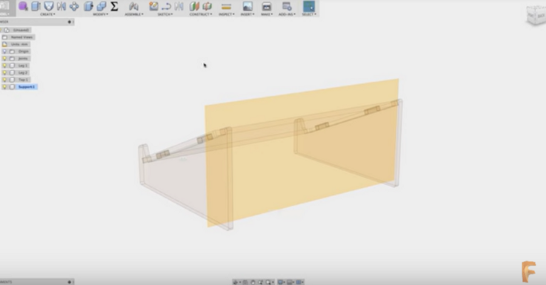
-The camera angle will switch to the back now
-go to create a sketch > intersect
-Selection filter: Bodies
-Choose the left and right side.
-Press ok.
-The camera angle will switch to the back now -go to create a sketch > intersect -Selection filter: Bodies -Choose the left and right side. -Press ok.